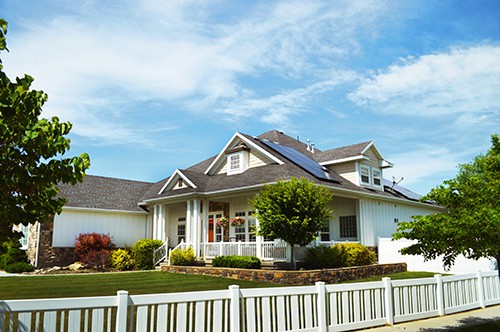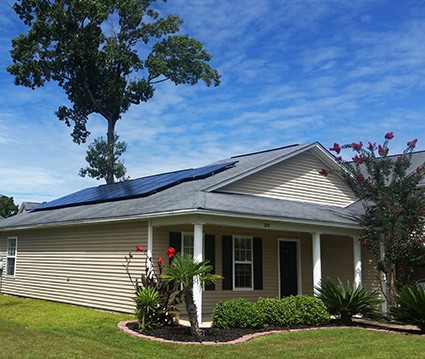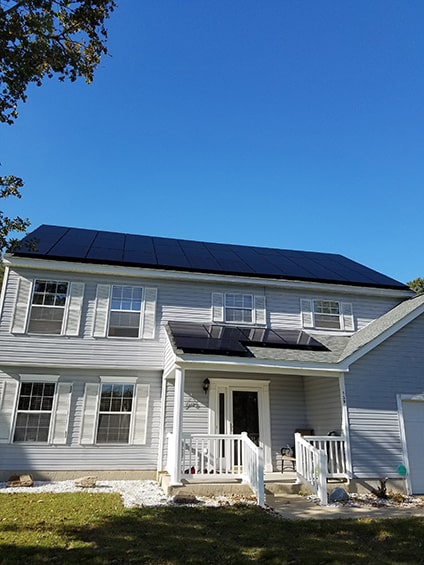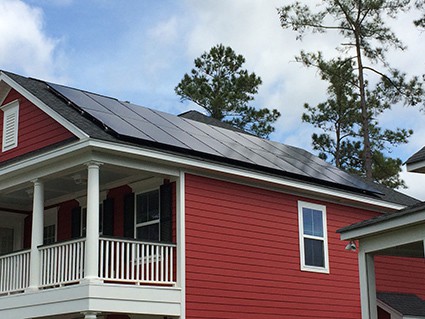
Switching to solar power is getting increasingly popular.
For homeowners, it should top your home improvement list. Going solar is a solution to climate change, puts money back into your pocket and helps cut carbon pollution.
In this article, we will cover how solar power works, how to start the process of going solar, installing your own solar panels, solar cost savings and financing options for going solar, and the environmental benefits of solar power. Let’s begin!
How Solar Power Works
A rooftop solar panel works by allowing light particles to knock electrons free from atoms.
As a result, electricity is generated. Simply put, a solar panel photovoltaic (solar PV) cells convert energy from sunlight into electricity. Solar PV refers to the ability of the panel’s cells to convert sunlight into electricity. This power is known as direct current (DC) electricity, which is further converted to alternating current (AC) by an inverter. Alternating current is the type of electric current you use when you plug in anything into a residential wall socket.
Starting the Process To Go Solar
If you are new to residential solar energy, here is a complete step-by-step guide on how to go about it.
1. Evaluate your home’s suitability
The first step is to carry out an evaluation to determine whether or not your home is suitable for solar paneling. Look at the following:
• Roofing material
Asphalt shingles are best to work with. Tile, metal and rubber membrane are also viable but installation may cost you more.
• Your roof’s age
The best roofs to work with are those that are less than ten years old. However, you can also do an installation on an older roof as long as it is in a good condition.
• Shade on your roof
Because you want to get as much sunlight as possible, the less the shade on your roof the better. Shade decreases the output of your panel. In addition to this, solar panels work best on south-facing roofs. They can be tilted to work well on east facing roofs as well. However, North facing roofs are a bad idea.
2. Shop around
If your roof passes the test, the next step is to contact local installers for quotes. The prices will largely depend on the state and suitability of your roof, the area to be covered as well as service costs.
To come up with a figure, your installer will map out your roof, the space available and make approximation on how much sunlight the panel can get and the power it can produce in kilowatt-hours.
Another cost consideration is the make and model of equipment. A solar installation comprises of racks, panels and an inverter to convert DC power to AC power. A good quote itemizes and gives you the cost for each component, the quantity required and the prices of each.
You will also get a solar installation cost in dollars- per -watt. This ranges between $2.50- $4.50 per watt. Again, this is dependent on your roof and the size of the installation.
Depending on your financial position, there are state and federal incentives offered to you. At the very least, the quote should reflect a federal solar tax credit, which should reduce your tax bill by about 30 %.
With this information, your installer should also be able to advise on your ROI and how much savings you will make for the life of the panel. It is important to consider how long you intend to live in the house. Unfortunately, If you plan to move within five to seven years, you might not be able to recoup your investment.
3. Installation
Once you have agreed on the size and pricing of the installation, your installer can take over and begin the technical part of things. They will get permits from the city as well as apply for incentives directly from utility companies. Rebates from the utility will reduce your up-front costs.
Once the installers have mapped out the installation, the actual installation will take about four hours. There will also be electricians on site to ensure the system is sound and can send electricity to the inverter.
At this stage, your installer will walk you through the process of setting up a billing arrangement with the utility company. Some of these plans allow you to set up special rates designed to record consumed and exported energy.
4. Getting connected
This is the last step towards going solar. Depending on your state and utility provider, it will take several days to a few weeks to get connected on the grid.
Your utility company will send an assessor to check the soundness of the system. Once they give you the green light, you are set to switch on your panels and enjoy clean, reliable power.
Buying Used Solar Panels
Are you considering scaling up your energy—without scaling up your budget? Here’s what to consider when buying used solar panels:
- Consult with a professional solar installer for complex installations or expansions. They can recommend suitable configurations for optimal performance.
- Purchase from reputable dealers or well-established companies to ensure authenticity and reliable customer service. Online marketplaces can offer a wide range of options, but research sellers’ reputations and ratings beforehand. Local solar installation companies may also have quality used panels available.
- Verify the panel’s history, inspect it physically, and ask for performance data to assess its condition and reliability. Seek panels with a guarantee or limited warranty for added security.
- Calculate the return on investment (ROI) and compare financing options if applicable. Assessing cost-effectiveness involves comparing upfront costs to new panels, estimating long-term savings, considering installation time and complexity, and evaluating required expertise.
- Additionally, consider the non-financial benefits, such as contributing to sustainability efforts.
Installing Your Own Panels

A plug and play solar system that allows you to use an adhesive roof mounting system is under development.
This will make it easier for consumers to do their own installation. However, until this is available in the market, it is best to call a certified rooftop solar installer to handle the process for you.
Lower Electricity Costs

The cost of going solar has been gradually decreasing and is likely to decrease even further.
Adopting solar power means lower electricity costs. Net metering for one ensures that homeowners are only billed for the net amount of electricity they use each month. The excess power then goes back into the grid and is then made available to other consumers. Net metering can save you hundreds of dollars on your utility bill each year while giving you a good ROI.
Again, switching to solar power allows you a solar tax credit that gives you a 30% reduction in your tax bill. The other money saver comes in the form of avoided utility bill expenses. Costs factor in associated operational costs that utility companies eventually pass down to the consumer.
Financing Your Solar Solutions
Solar power is an economic investment that can push up your house’s resale value up by 3%- 4%.

Financiers today give homeowners the opportunity to apply for a residential solar loan. This can help you to cover the cost of installation. A solar loan can be secured (mostly by your home) or unsecured, dependent on various factors including your credit rating.
If this is the best option for you, shop around and talk to several financiers. Find out the repayment duration, the interest rate and so on.
Environmental Benefits of Solar Power
Fossil fuels, which are combusted to produce electricity makes up a vast majority of greenhouse gas emissions. This has had far-reaching effects on the environment, prompting many countries to seek cleaner alternatives. Solar power tops that list. It’s renewable, reliable and inexhaustible, unlike fossil fuels.
There you have it, in the long-term, switching to solar is just about the best thing you can do for yourself, your finances and the environment as well. The economy is not left behind. Solar power is creating jobs and contributing to the growth of our economy.